BEAD ART, BEAUTIFULLY BOXED
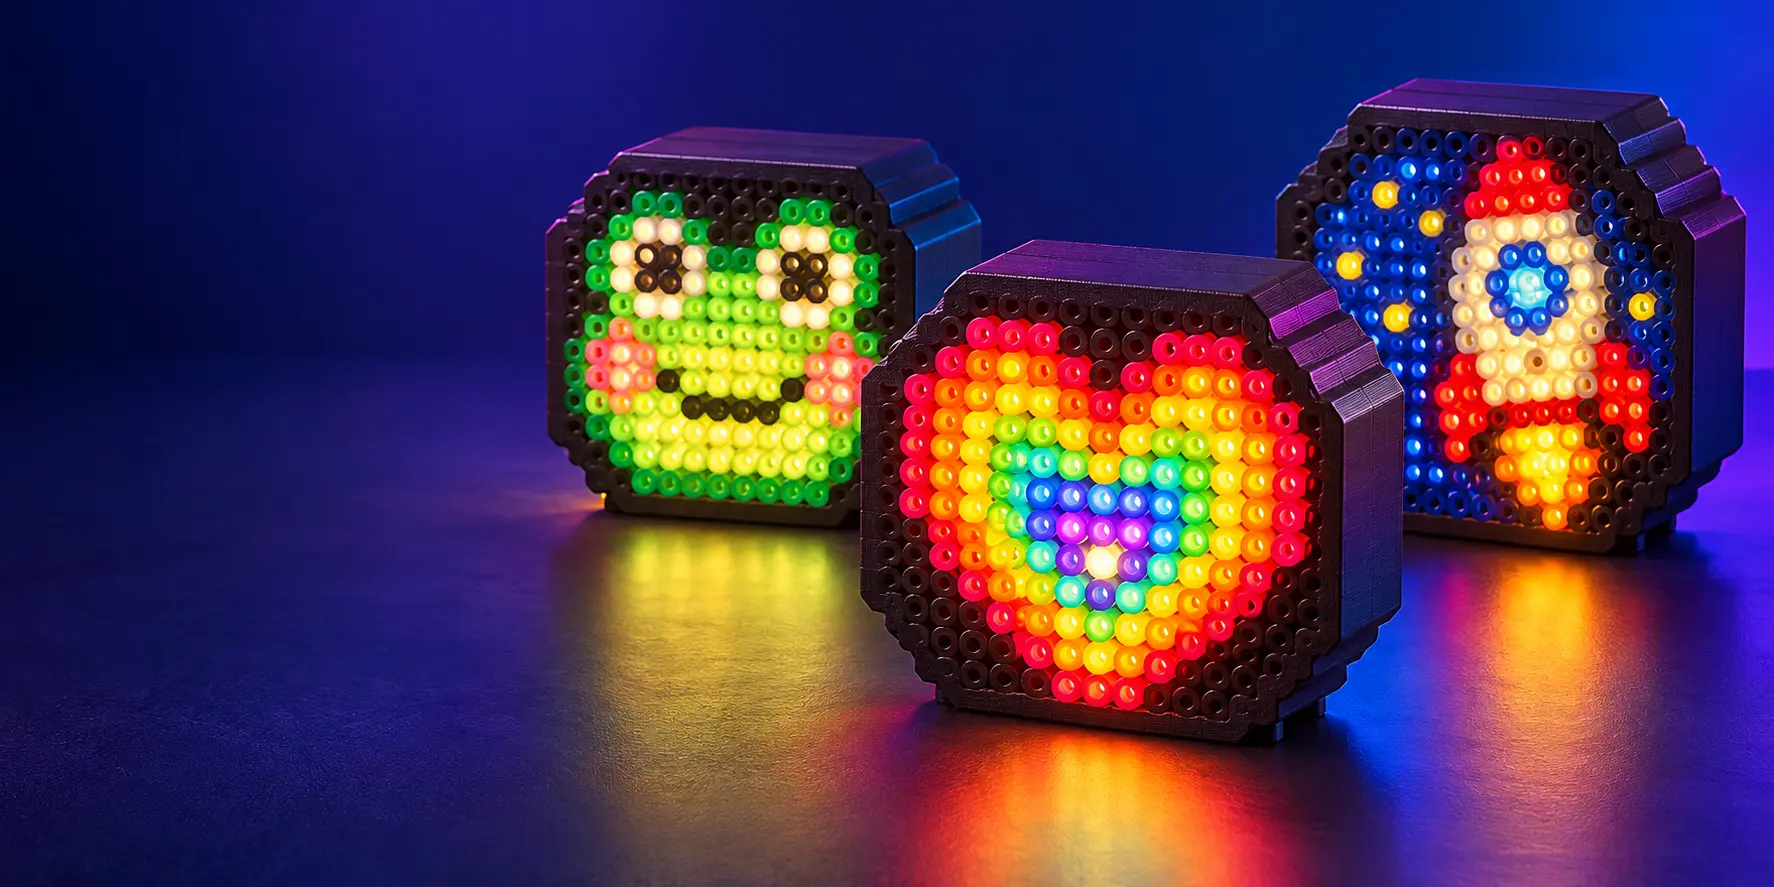
Turn your bead art into a fitted light box or protective frame.
Trace the outside beads from one photo, verify the shape, and create print-ready parts sized to your real beads.
- No automatic detection drift
- Test fit before the full print
- LED and protective-frame options
A SIMPLE, GUIDED WORKFLOW
Photo to printable parts in four clear moves
01Load a clear photoUse a straight overhead picture of the finished art.
02Click the perimeterMark each outside bead in order to rebuild the grid.
03Review the boardCorrect cells and confirm the fitted outline.
04Test, then exportPrint a small fit test before generating final STLs.
DISPLAY IT YOUR WAY
One outline, two polished finishes
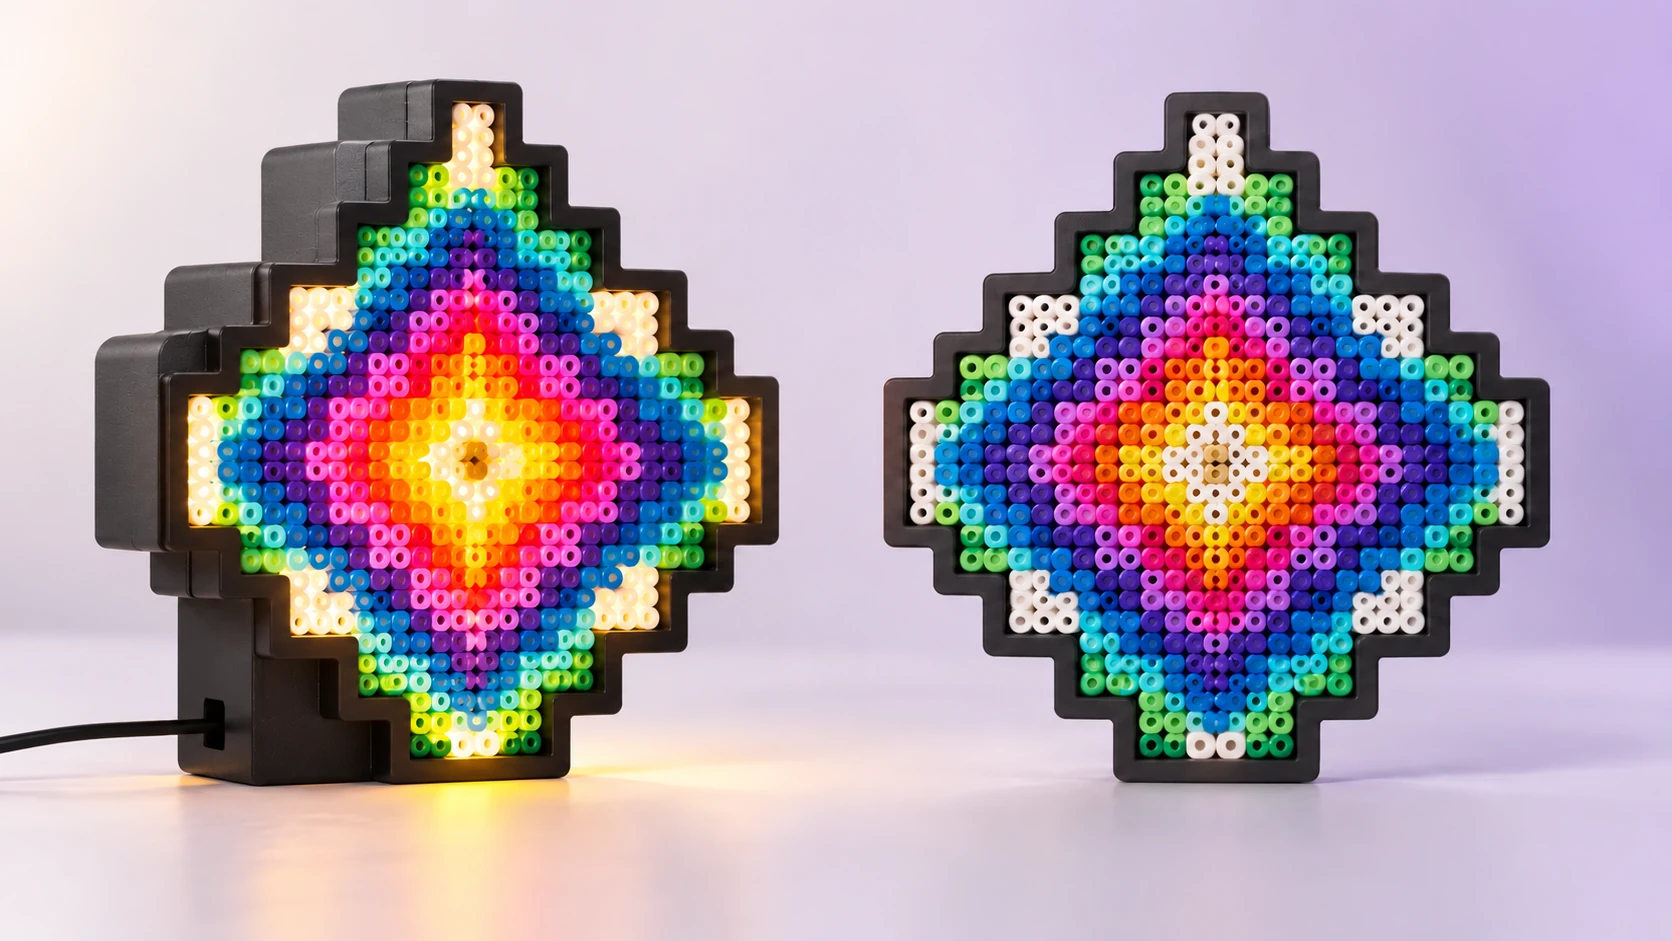
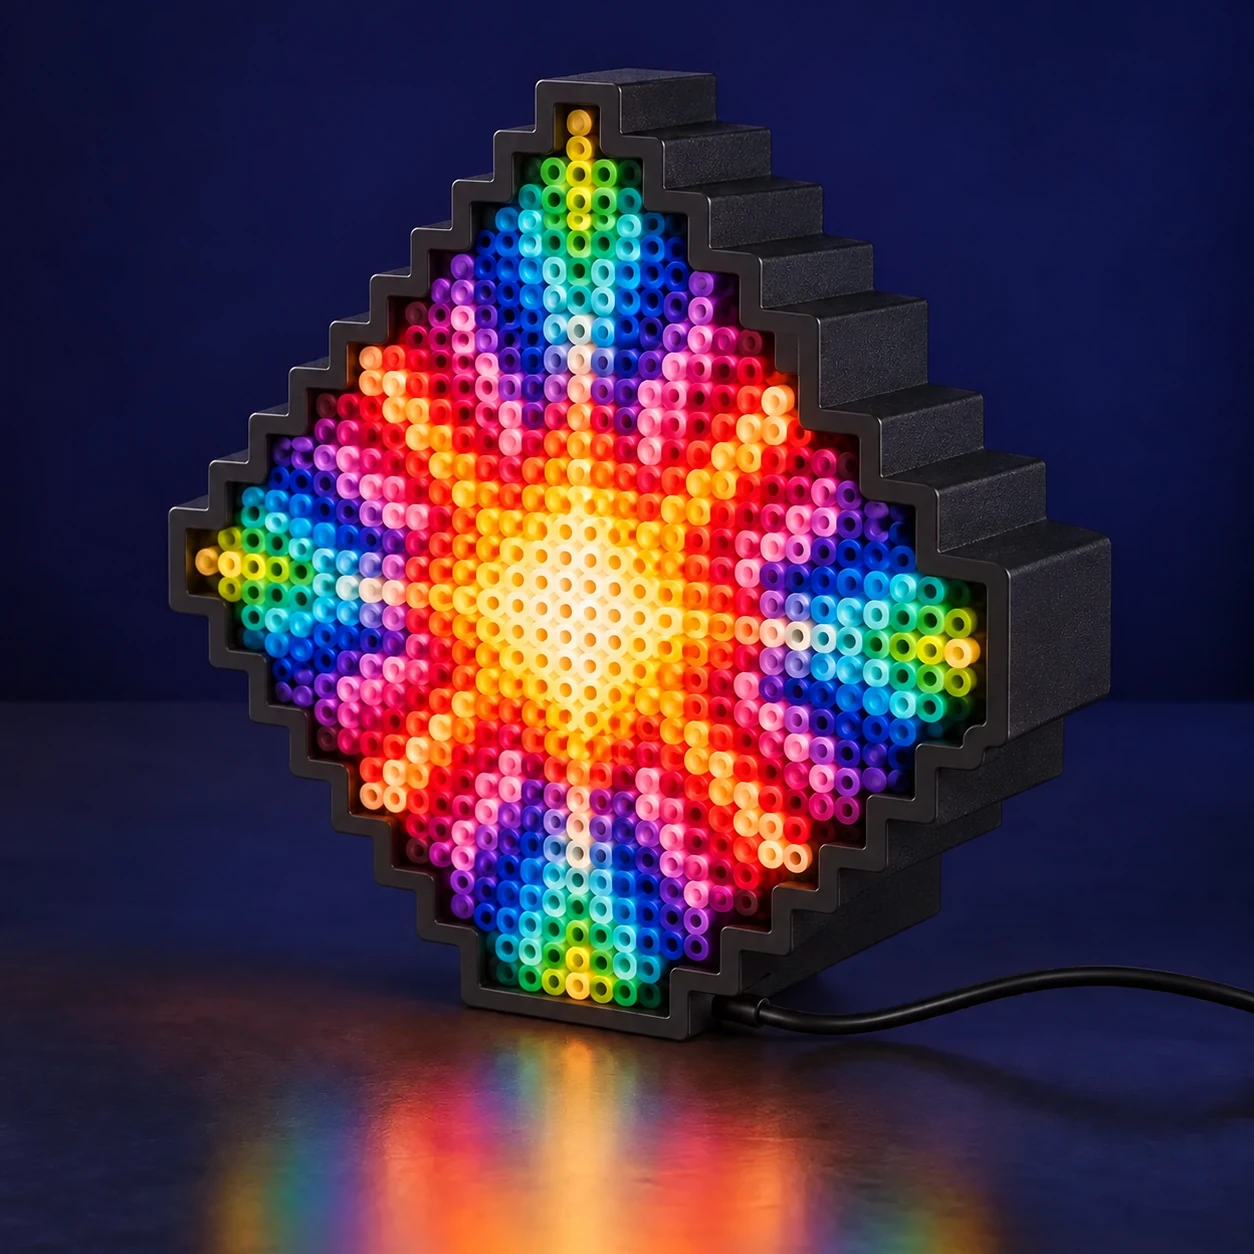
Create a deeper LED-ready enclosure for a bright desktop display, or a slim reinforced frame that protects the artwork without hiding its beadwork.
LED-ready boxEdge protectionCustom fitPrintable STL
REINFORCED FRAME
A clean front. Matching solid support.
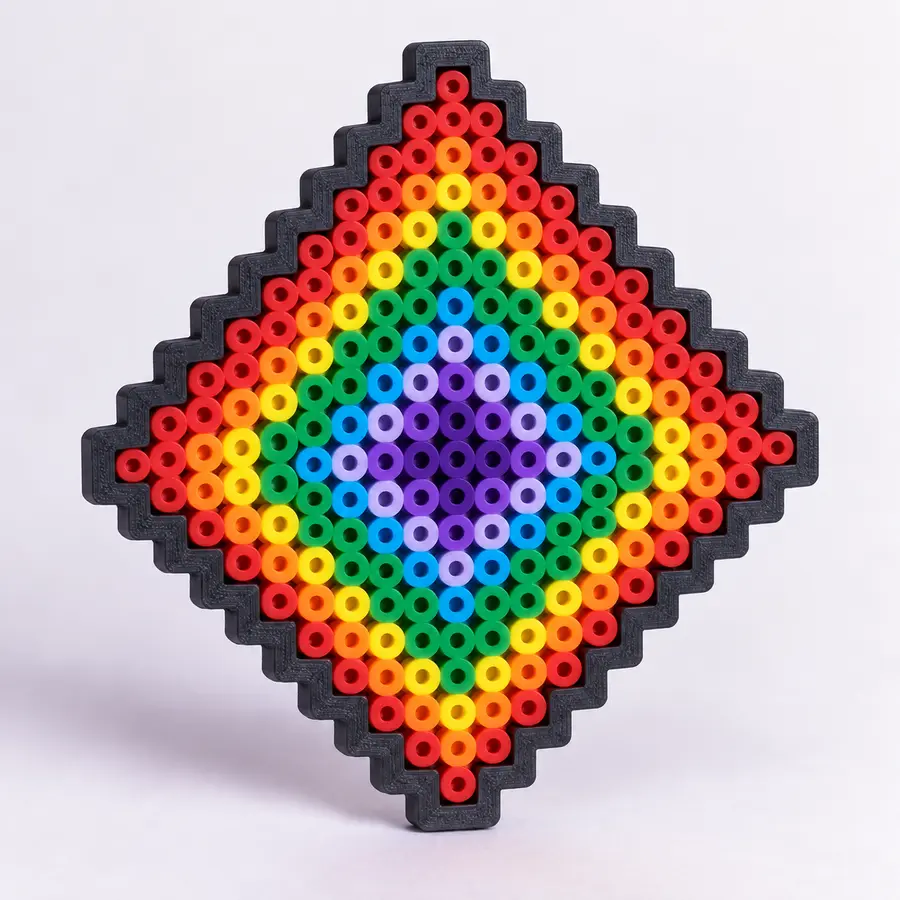
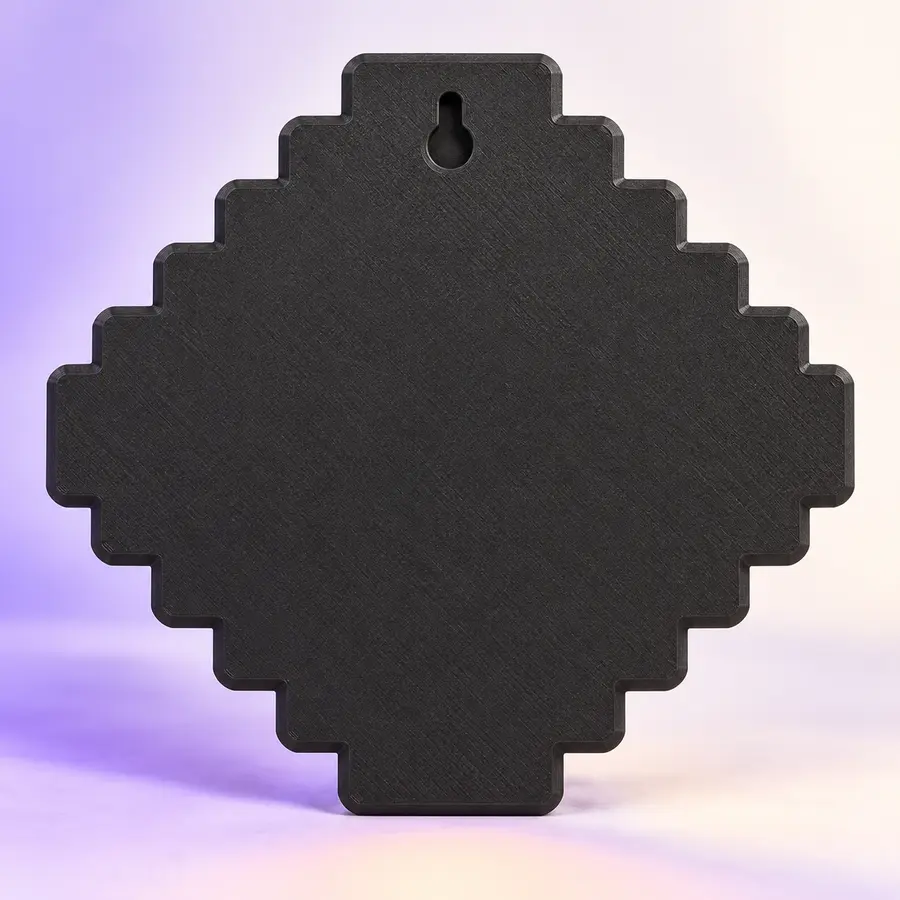
The slim frame follows the art’s outline, reinforces the beadwork, and includes an optional top-center keyhole hanger cut into the back. Matching solid support helps bead art from breaking apart. The frame stays matte and unlit.
READY TO BUILD?
Start with one clear photo of your bead art.
Quick settingsAvailable after the first test fit. Adjust settings here while you inspect and refine it.
Place features
Choose a feature, then click the model. Click again to add more placements.
Choose a wire surface before placing: wall exits cut through a side wall; floor openings cut through the base at each marked spot. Markers show the exact cut location and size. Middle mouse drag pans the view, wheel zooms, and WASD pans when the 3D canvas is focused.
0 placed
0 placed